
Draft plan
pick a problem on the left
A draft will appear here: diagnosis, solution, timeline and goal.
demo · a day with automations
I make websites for businesses and build web and mobile apps — from the first MVP to a mature product. Where it pays off, I add AI and automations that keep working while you sleep.
Taking on new projects from November
Approach
Every project starts with your problem, not with technology. Pick the one that sounds familiar.
A draft will appear here: diagnosis, solution, timeline and goal.
How I can help
We usually start with a website that brings in customers. As the business grows, apps and automations follow. Always with a working preview every 1–2 weeks.
A modern website that looks good on a phone, loads fast and can be found on Google. Customers see straight away what you offer and how to reach you.
From an idea to a working app you can show your customers — in weeks, not quarters.
The work someone does today with Excel and five browser tabs — a system takes it over.
Before you spend money, we check where AI will really pay off — and where it’s just a trendy add-on.
Also: a refresh of your old website and a senior developer for your team. Let’s talk
Selected work


A website for an original London taxi for weddings — elegant, fast on phones, with a simple availability check.
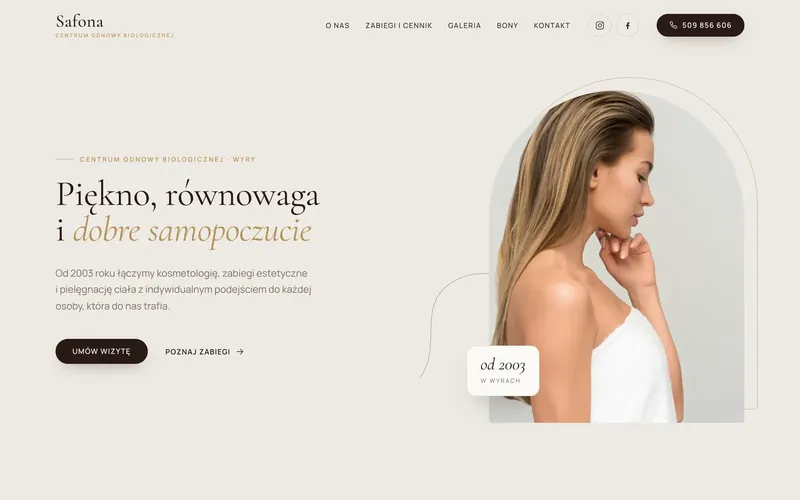

A website for a wellness centre open since 2003 — warm, light and built around booking a visit.
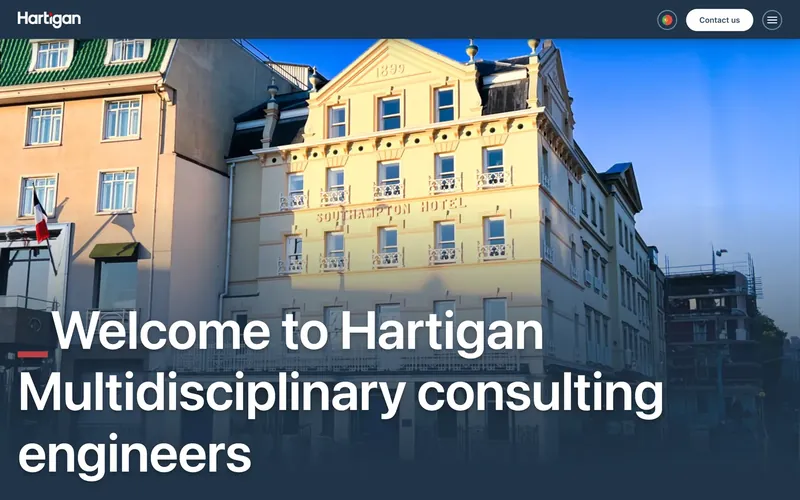
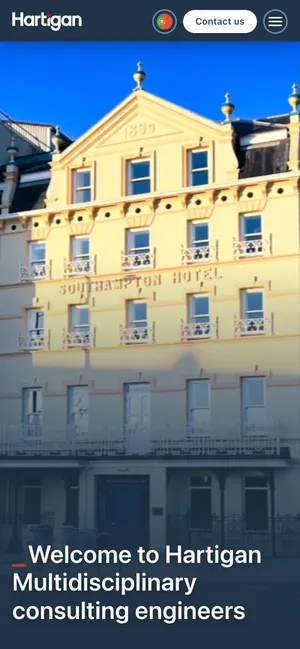
A website for a British engineering firm with 40 years of experience — from structure and content to the tech.
Robert Liszka · robertliszka.pl

About
For over 10 years I’ve been building web and mobile apps for teams around the world, from food to fintech. Today I combine that with generative AI, with one rule: the model has to deliver results, not a conference demo.
I believe in small, fast releases, clean code you can take over without pain, and an honest “this makes no sense” when it doesn’t.
Process
No months of analysis and no black box. Every 1–2 weeks you see a working version and decide what’s next.
Let’s start with a callCall · 30 minutes
You tell me what hurts. I ask, do the maths and tell you straight whether AI makes sense here.
Plan and quote
A clear scope, timeline and cost. No asterisks, no hidden items.
The first demo is ready
You click around, test on real data and share feedback.
Further iterations
We ship piece by piece, measure the impact and move priorities to where it pays off.
The code is yours. 100%.
Repository, documentation, infrastructure. We keep building together, or you take the project over.
Testimonials
Every YouTube video I make now turns into an SEO-optimised blog post — completely automatically. Hours of manual work disappeared overnight, and organic traffic has finally started to grow. Straight to the point, no fluff.
We worked on the same project for almost two years, and I know one thing — his code barely needs a tester. Committed, focused and one of the best frontend developers I’ve worked with in seven years of QA.
Simply put, bookings went up. The new site is fast, mobile-friendly and gives our vintage wedding taxi exactly the elegant image it deserved.
Sebastian worked closely with us at every stage — from structure and content to the technical side. The result is a clear, fast-loading website that communicates exactly what we do and makes it easy for clients to understand our services.
Questions
Click a question — I’ll answer like in a chat.
With a 30-minute call. You tell me what you want to build or improve, I ask questions and tell you straight what makes sense. Then you get a concrete plan and a quote.
It depends on the scope. After a short call you get a clear quote and timeline — no hidden costs and no surprises along the way.
Usually within 1–2 weeks — that’s when you get the first working demo. Simple automations are often ready even sooner.
Yes, and it’s often the best idea. A small MVP or a single automation quickly shows whether it’s worth going further.
Often yes, but not always. On the call I’ll show you concrete use cases for your business — or tell you straight that it’s not worth the money.
100%. You get full access to the repository, documentation and infrastructure.
We can keep developing it together, or you take it over with clean, documented code — with no dependence on me.
Yes, with clients all over the world. I work from Poland (CET), with a comfortable overlap with the UK and the US East Coast. We talk on Slack, by e-mail and on video calls.
Yes, for small and large ones. It’s a big part of my work today. I design and build company websites that look good on a phone, load fast and can be found on Google. I work with businesses in Poland and abroad.
Contact
Write a few sentences about what you want to build. I reply within 24 hours.